

I know I’ve been MIA for a while, but don’t you worry -- I’ve left time for a little crafting here and there. My most recent project was building a headboard for my bed. I was surprised at how easy this project turned out to be. I found an old attic door at a local “vintique” store in Knoxville. This DIY would easily work with any old door, depending on your bed size. I’ll admit, my attic door is a bit small for my queen-sized bed, but I just couldn’t pass up this charming old white door.

Supplies:
-an old wooden door
-a tape measure
-two 2x4's to serve as posts for your headboard **You’ll need to measure the height of your bed and door (height of door when laying horizontally, that is) to figure out what size pieces of wood to buy.
-a drill
-12 wood screws, long enough to drill through your wood slats and half of your door
First off, make sure your 2x4's are flat on the bottom, so that they will stand up level on the ground. Now lay your door face down on the ground (so that the back is facing up), and line up where you will connect your 2x4's. You are essentially just attaching the wooden posts to the back of your door to act as legs. It’s a good idea to have the wood run almost to the top of your door for added support. Most importantly, align your wood so that the legs match the height of your bed (so your wooden legs won’t be visible). I used a tape measure to do this, and I drew a line where the wood should align with the edge of the door.


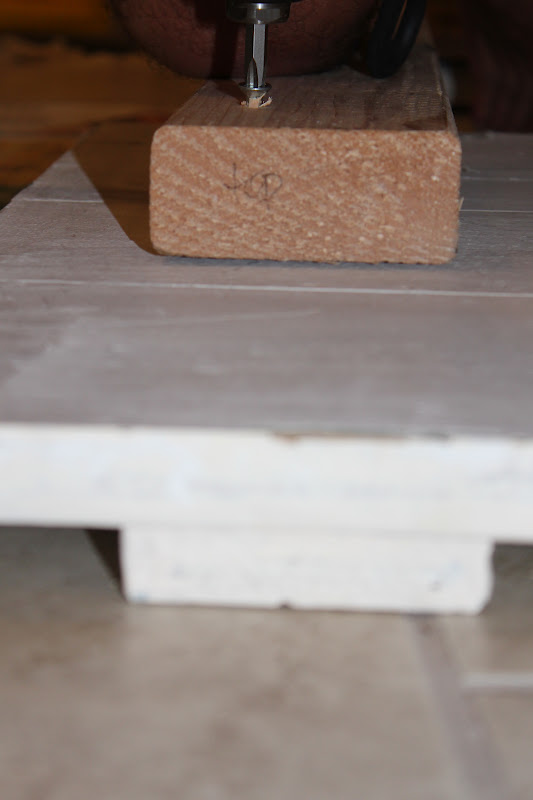
Once you’ve lined the wood up how you want it, secure your legs by drilling 6 screws into each post. Place two screws at the top of your slat, two in the middle, and two at the bottom.

Flip your door over, stand it up, and you’ve got yourself a new headboard!

It may be a good idea to paint the top of your wooden legs the same color as your door, just in case an inch or two shows when you forget to make your bed! My door was a vintage white color, and I happened to have extra spray paint leftover from my window frame shelf. So, I just spray painted the top half of my legs, and now I never have to fret about raw wood peeking out. Here’s my finished product. I simply stood it up against the wall and pushed my bed up against it.
P.S. Recognize those lamps on a string? They finally found a home above my bed!

-A


Hi darling! You are so talented and your creations are so brilliant!
ReplyDeleteXoXo
Ely
http://elybslittlecorner.blogspot.it/
Thank you so much, Ely!! You are too sweet!
Deletelove it! And the lights are too cute too!
ReplyDeleteThanks so much! Glad you like them; they were an earlier post! :)
DeleteI love it! What a good job you did :))
ReplyDeleteThanks for linking up with my NO RULES Weekend Blog Party!
Hope your having a good one!
Paula
lifeasweknowitbypaula.blogspot.com
Thank you Paula! Thanks for hosting!! Love your blog parties! :)
DeleteWhat a great door for a headboard! I think it looks cute with your Queen size bed! Thank you for sharing this at Rustic Restorations Weekend.
ReplyDeleteThank you so much! Thanks for hosting!
DeleteI just LOVE old doors and all the many things you can do with them. Your headboard looks FABULOUS! Hopped over from Say G' Party and I'm happy to be your newest follower. Would love to have you stop by for a visit. Blessings ~ Judy @ www.vintagestreetdesigns.com
ReplyDeleteThanks, Judy!! LOVE your blog!
DeleteI love the strong of lanterns above your head board !!
ReplyDeleteI am hosting a blog hop today over at my blog :-)
http://myfroley.blogspot.com
Thank you! I joined in on your blog hop!
DeleteThis looks great! I've been searching around for good headboard ideas and this is so simple. Thanks!
ReplyDeleteNo problem at all! Thanks for stopping by! :)
DeleteThat looks fantastic! Thanks so much for sharing this at my say G'Day Party. I have shared this on Pinterest and Google+ ~ I love it!
ReplyDeleteBest wishes,
Natasha in Oz
Thank you so much! You're the best.
DeleteSo cute! I love this, what a great idea! :) Thanks for sharing last week on Saturday Show & Tell on Cheerios and Lattes! You are a featured favorite this week! Hope you can join us again this week! Have a great weekend!
ReplyDeleteMackenzie :)
Thank you; thanks for hosting the party! I'm so honored I was featured...thanks so much!
DeleteHi there! :)
ReplyDeleteI am totally in love with your blog, your posts are so interesting and incredibly original!!
You're one of the most inspiring blogs out there!
Would you mind checking out my blog and letting me know what you think I should change and what would you like to read in it?
http://comeclothesval.blogspot.it
I'm new in the field so I would love if you could give me some feedback :)
x,Val.